How to Track Expenses and See Where Your Money Goes in 5 Simple Steps
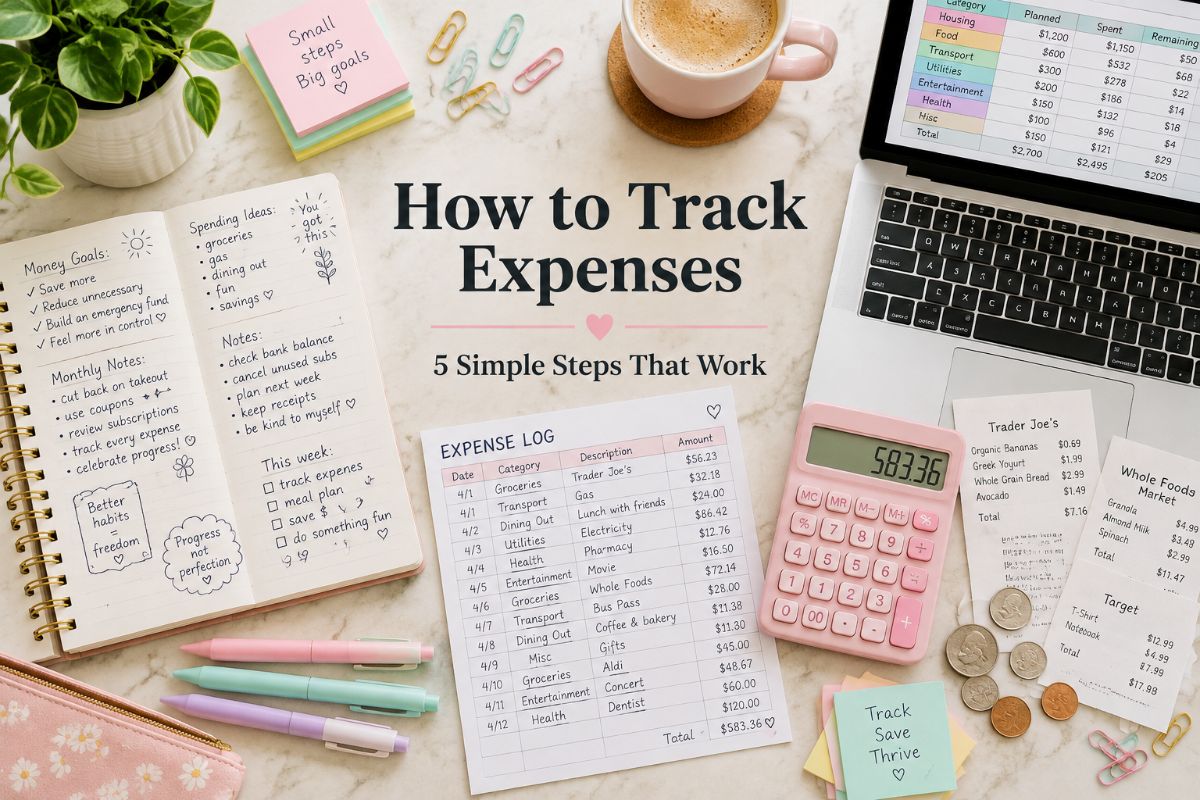
Knowing how to track expenses is the first step to knowing where your money goes. It sounds like a big job, but it comes down to one habit: write down what you spend, sort it into a few categories, and look at the totals once a week. This guide shows how to track your expenses in five simple steps, using a method that works on paper, in Google Sheets, or in Excel.
You will also find the categories most people start with, a simple Google Sheets setup, the mistakes to avoid, and two ready-made trackers if you would rather not start from scratch.
Quick navigation
Table of Contents
Why Expense Tracking Works
Most of us have a rough idea of our big costs, such as rent and bills. It is the small, regular purchases that are hard to see: a coffee, a snack, a subscription, a delivery fee. Expense tracking makes those visible, and once you can see the numbers, you can decide what is worth keeping and what is not.
- You see where your money really goes, not where you think it goes.
- You spot small costs that repeat and add up.
- You get the facts you need to build a budget that fits your life.
- You can make changes calmly, because you are looking at numbers instead of guessing.
What You Need Before You Start
You do not need special tools to begin. Have these ready:
- Your last 30 days of spending. Bank and card statements, receipts, and payment apps show most of it.
- A place to record it. A spreadsheet, a printable page, or a notes app is enough.
- About 20 minutes for the first setup, and a few minutes each day or week after that.
- A start date. Pick a day soon, such as the first of the month, and begin.
How to Track Expenses in 5 Steps
These five steps work with any tool, from a notebook to a spreadsheet. Follow them in order the first time, then repeat steps 4 and 5 as a routine.
Step 1: Pick Your Method and Your Rhythm
Choose one method and keep it for at least a month. A spreadsheet adds up your totals for you, a printed page needs no device, and a notes app is always in your pocket. Switching tools halfway makes your numbers harder to compare.
Then choose how often you will update it. A minute in the evening is the most accurate. If daily feels like too much, a weekly sitting works as long as you keep your receipts and check your card activity.
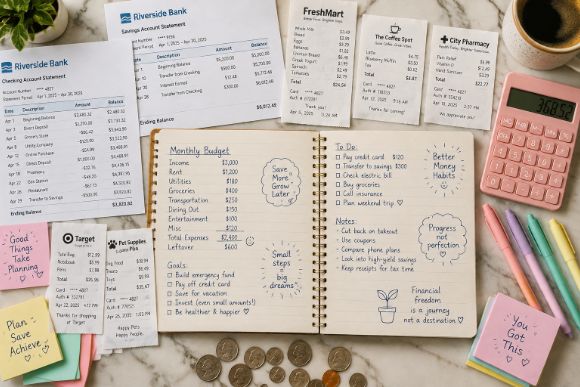
Step 2: Gather the Last 30 Days of Spending
Looking back gives you a starting picture before you track anything new. Open your bank and card statements for the past month and copy each purchase into your tracker. Add cash spending from receipts or memory as well as you can.
Do not worry about being perfect. A rough first month still shows your biggest categories, and the numbers become more exact once you track in real time.
Step 3: Set a Few Simple Categories
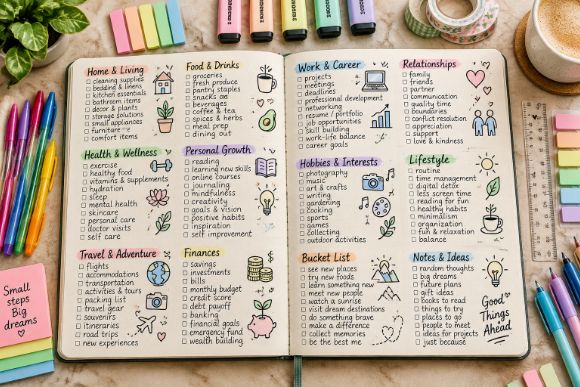
Categories turn a long list of purchases into a clear picture. Start with five to eight, such as housing, food, transport, bills, and fun. Too many categories slow you down and make the totals harder to read, and you can always split one later.
If you are not sure what to use, the list of common expense categories below gives you a starting point.
Step 4: Record Every Purchase
For each purchase, write the date, what it was, the category, the amount, and how you paid. Do it the same day, while you still remember it. Include small purchases and cash, because those are the ones that disappear.
If you cannot record a purchase on the spot, take a photo of the receipt or save a quick note on your phone, then enter it in the evening.
Step 5: Review Your Totals Every Week
Once a week, add up each category. Look at which one is the largest, which one grew since last week, and which purchases surprised you. This is where tracking turns into knowing how to track spending in a way that changes your habits.
At the end of the month, compare your totals with the month before and pick one small change for the next one, such as a lower limit for dining out. Small, steady changes are easier to keep than big ones.
Which Tracking Method Fits You?
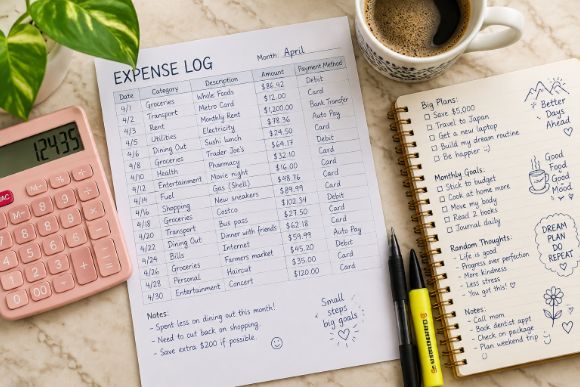
Every method works if you keep it up. Here is how the main ones compare:
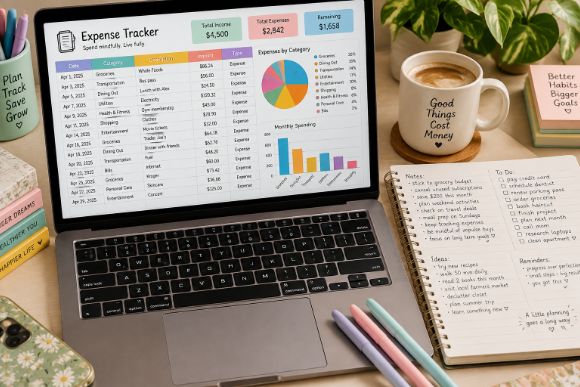
- Spreadsheet (Google Sheets or Excel). Totals and charts update by themselves, and you can search and sort your purchases. It suits most people.
- Printable page. Simple, private, and free of screens. You add up the totals by hand, so it works best for short periods or a single month at a time.
- Tablet or notes app. A PDF in GoodNotes or a Notion page keeps your spending log next to your other plans and goes with you everywhere.
- Budgeting app linked to your bank. It imports purchases for you, but check what data it can see and whether it has a cost.
How to Track Expenses in Google Sheets
A simple sheet takes about ten minutes to set up. You can also start from a ready-made template, but building your own once shows you how the pieces work.
- Create the sheet. Open a new Google Sheet and give it a name, such as Expense Tracker.
- Add your headings. In row 1, type Date, Description, Category, Amount, and Payment Method. Then use View, Freeze, 1 row so the headings stay in view as you scroll.
- Make a category dropdown. Select the Category column from row 2 down, choose Data, then Data validation, add a rule, choose Dropdown, and type your categories. Now you pick a category instead of typing it.
- Enter each purchase on a new row. Type amounts as plain numbers, and use the same date format every time.
- Total everything. Use
=SUM(D:D)to add all amounts, or=SUMIF(C:C,"Groceries",D:D)to add only one category. Put one SUMIF line for each category on a second sheet. - Turn totals into a chart. Select the category totals, then choose Insert, then Chart. A column or pie chart shows your biggest categories at a glance.
The same steps work in Excel. The dropdown is under Data, then Data Validation, and the formulas are identical.
Common Expense Categories
Use these as a starting point and rename them to fit your life:
- Housing: rent or mortgage, home insurance
- Utilities: electricity, water, internet, phone
- Groceries: food and household basics
- Transport: fuel, public transport, parking, car costs
- Health: medicine, appointments, insurance
- Dining out and coffee: restaurants, takeaway, cafes
- Entertainment: streaming, hobbies, events
- Shopping: clothes, home items, gifts
- Subscriptions: apps and memberships
- Savings and debt: savings transfers, loan and card payments
- Other: anything that does not fit yet
If your Other category keeps growing, look inside it and give the biggest items a category of their own.
Tips to Make Expense Tracking a Habit
- Pick a fixed time. Tie it to something you already do, such as the evening after dinner or Sunday morning coffee.
- Keep it small. A few categories and a short entry take less than two minutes.
- Track for 30 days before you change anything. You need a full month of numbers to see a pattern.
- Look without judging. The goal is information, not guilt. Numbers are easier to change when you stay calm.
- Use a tracker you like looking at. A layout you enjoy is one you will open more often.
Common Mistakes to Avoid
- Leaving out cash and small purchases. They are the easiest to forget and often add up.
- Using too many categories. Twenty categories mean twenty decisions on every purchase.
- Tracking only when you remember. Gaps make the totals unreliable, so set a fixed time.
- Mixing business and personal spending. Keep them in separate sheets or tabs.
- Giving up after a missed day. Missing a few days is normal. Fill in the gap from your statements and carry on.
Two Expense Trackers to Start With
You can follow every step above with a notebook, but a ready-made tracker saves the setup time. Here is one for each method, a spreadsheet and a printable page:
GOOGLE SHEETS AND EXCEL TRACKER
Income and Expense Tracker Spreadsheet
If you would rather not build a sheet yourself, this tracker gives you a finished one. It records income, bills, expenses, savings, debts, and investments, with up to 50 categories you can name yourself.
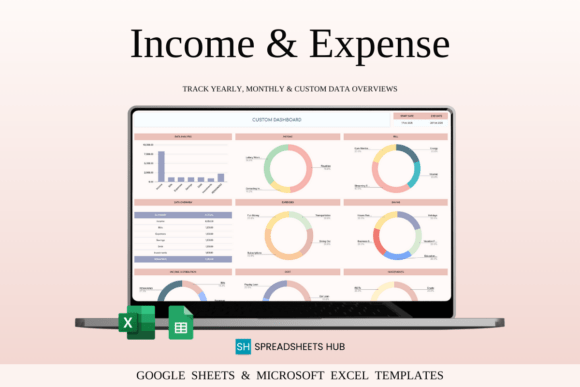
Works in: Google Sheets and Excel | Categories: Up to 50, your own | Currency: Multi-currency | Views: Monthly and annual
Best for: people who want a ready-made income and expense sheet. It also makes the Google Sheets setup in this guide much quicker.
- Monthly budget overview that compares goals with actual numbers
- Annual summary of income, expenses, and savings
- Custom date range for a week, a month, or a year
- Multi-currency support with automatic conversion
- Savings, investment, and debt tracking
Because the categories are yours, you can follow the five steps in this guide exactly as written and keep everything in one file. Choose it if you want automatic totals without writing formulas. Skip it if a simple pen-and-paper log is what you need.
PRINTABLE MONTHLY EXPENSE PAGE
Easy Monthly Expense Tracker Printable
This blue floral page is a quick way to start tracking without a spreadsheet. It has sections for income, fixed expenses, other expenses, and bills, plus a monthly recap with goal versus actual columns.
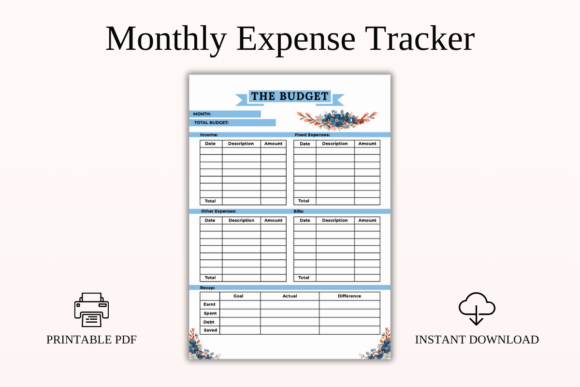
Format: Printable PDF | Sizes: A4, A5, US Letter, Half Letter | Dating: Undated | Style: Blue floral
Best for: beginners who prefer pen and paper. It fits Step 4 of this guide.
- Income section
- Fixed expenses and other expenses sections
- Bills section
- Monthly recap of earned, spent, debt, and saved
- Goal versus actual and difference columns
The recap makes the weekly and monthly review in Step 5 quick, since the totals sit on one page. The pages are undated, so you can print a fresh one each month. Choose it if you like to write things down. Skip it if you want totals that calculate automatically.
Want more options? See our full list of expense tracker templates, from Google Sheets and printable trackers to Notion, Canva, and business templates.
FAQ
How long should I track my expenses?
Track for at least a month to see your basic pattern, and for two or three months to catch regular costs such as annual bills or seasonal spending. Many people keep going, because it takes only a few minutes.
Should I track expenses daily or weekly?
Daily is the most accurate, because you remember each purchase. Weekly works well if you keep your receipts and check your card activity, so nothing is missed. Choose the rhythm you can keep up.
How do I track cash spending?
Keep receipts, or write each cash purchase in a small notebook or a notes app as soon as you pay. Record every purchase instead of one large withdrawal, because the withdrawal alone does not show what you bought.
What is the easiest way to track expenses?
The easiest way is the one you will actually open. For many people that is a simple sheet with a few categories, or a printable page kept on the fridge. Start simple and add detail only when you need it.
Do I need an app to track expenses?
No. A notebook, a printable page, or a spreadsheet works just as well. An app can save time by importing purchases, but it is optional.
What should I do if I overspend?
Look at which category went over and why, then adjust the next week or month, for example with a lower limit for that category. One high month does not undo your progress, so treat it as information.
When should I ask for help with my money?
Tracking shows you where the money goes, but it does not replace professional advice. If you are falling behind on bills, struggling with debt, or facing a large financial decision, a certified credit counselor or financial advisor can help.
Final Thoughts
Learning how to track your expenses comes down to a small routine: record what you spend, keep a few clear categories, and look at the totals once a week. You do not need a perfect system to start. Pick one method, track for a month, and let the numbers show you where to make your first change.
You May Also Like
This post contains affiliate links. If you buy through them, we may earn a small commission at no extra cost to you. Learn more.