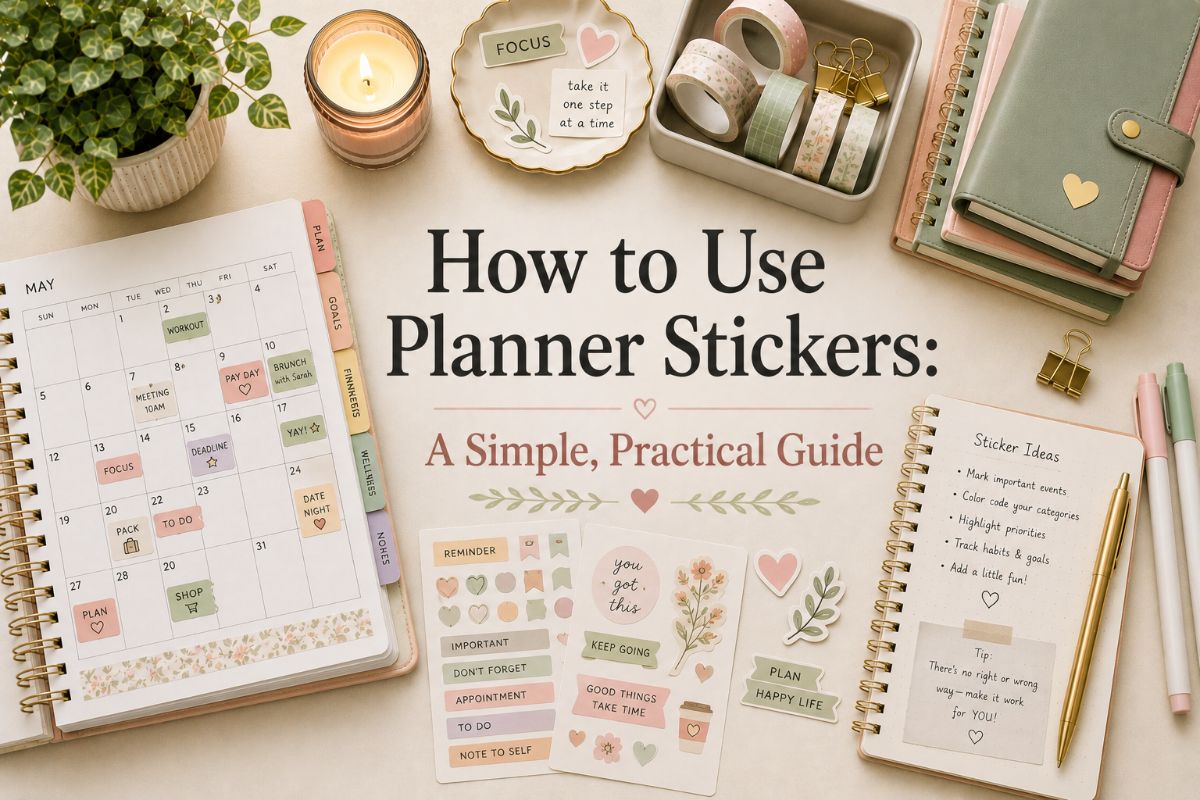
How to Use Planner Stickers: A Simple, Practical Guide to Pages That Look Good and Actually Help
How to use planner stickers is a question that comes up the moment a sticker sheet lands on your desk. It is easy to buy them, harder to know where they belong, and easy to end up with a page that looks busy but doesn’t help. The good news is that a few simple habits make stickers genuinely useful.
Here is how to give each sticker a job, build a small system, place stickers on monthly, weekly, and daily pages, and avoid the common mistakes. It works for paper planners, printable sheets, and digital planners alike.
Quick navigation
Table of Contents
How to Use Planner Stickers: Give Every Sticker a Job
The easiest way to get more from your stickers is to decide what each one is for before it touches the page. Some stickers carry information, like a bill due date, an appointment, or a workout. Others simply make the page nicer to open. Both are worth having, but they do different work.
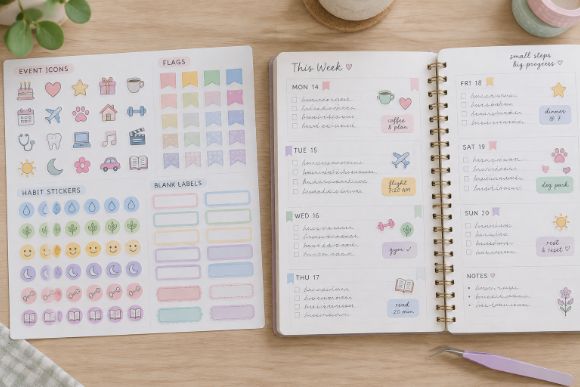
Functional stickers mark something you need to remember or track: icons for events, deadlines, habits, meals, or payments, plus blank flags and labels you can write on. Decorative stickers add color and personality: florals, quotes, borders, and small illustrations. A good planner page usually has a few of the first kind and a little of the second.
If you mostly keep a journal rather than a planner, our guide on how to use journaling stickers covers mood tracking and softer, less structured pages.
Build a Simple Sticker System
The core of how to use planner stickers well is a system. It sounds like extra work, but it can be as small as three or four rules. Decide on a handful of sticker types, give each a fixed meaning, and use them the same way every time. After a couple of weeks, you can read a page at a glance without reading a word.
| Sticker type | Where it goes | What it does |
|---|---|---|
| Event and appointment icons | On the day box of a monthly or weekly spread | Shows what is happening at a glance |
| Deadline and due-date flags | Next to the task or on the date | Keeps important dates from getting buried |
| Habit and progress stickers | In a tracker, or beside the daily box | Turns small wins into a visible streak |
| Blank labels and boxes | Over a block of time or a task list | Lets you write in a plan and color-code it |
| Decorative and quote stickers | In empty space at the top or side of a page | Adds personality without hiding information |
Color works well as a second layer, and color coding is a long-established way to show categories at a glance. Pick one color for work, one for family, and one for personal time, and keep to them across the whole planner. If you are new to planning in general, start with just two sticker types and add more once those feel natural.
Where to Put Stickers on Each Page
The right spot depends on the kind of page you are using. Here is a simple starting point for the most common layouts.
How to Use Planner Stickers on a Monthly Spread
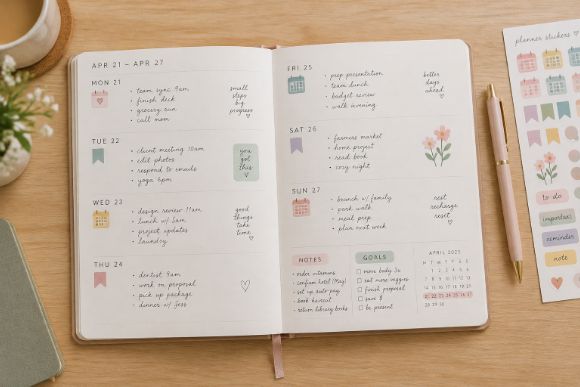
A monthly spread is the best place for event icons and deadline flags, because each day box is small and you only need a quick mark. Keep one or two stickers per day at most. If you need a place to start, see our roundup of monthly planner templates.
How to Use Planner Stickers on a Weekly Spread
Weekly pages have more room, so you can mix functional stickers with a few decorative ones. Label boxes work well here, for example a colored block over a study session or a meeting. Our guide on how to use a weekly planner shows how to plan the week before you decorate it.
How to Use Planner Stickers on a Daily Page
Daily pages are tight on space, so choose small stickers and keep them at the edge of the page. Use progress or habit stickers beside your to-do list, and save larger decorative stickers for the notes pages, where there is room to enjoy them.
How to Place Stickers Neatly
- Write your plan first, in pencil or pen, then add stickers. This way, the stickers frame your plans instead of covering them.
- Lay stickers out dry before you peel anything. Arrange them on the page, check the spacing, and then stick them down one at a time.
- Leave a margin. Keep stickers a little away from the page edge and from the writing lines so the page stays easy to read.
- Peel from a corner and press from the center out. This helps avoid bubbles and creases. Tweezers can help with very small stickers.
- Keep your sticker sheet close. A front pocket or a small folder means you will actually reach for it when a new plan comes up.
Printable and Digital Stickers
Printable stickers give you a lot of freedom, because you can print only the sheets and sizes you need. Print them on sticker paper and cut them out by hand or with a cutting machine. Matte sticker paper tends to look calmer on a planner page and is easier to write on. Browse our printable stickers roundup for ideas.
If you plan on a tablet, learning how to use planner stickers digitally is simple, because nothing needs printing. Import the sticker sheet into an app such as GoodNotes, then drag, resize, and copy each sticker onto your digital planner pages. The same ideas apply: give each sticker a job, and keep your system simple.
Common Mistakes to Avoid
Even people who know how to use planner stickers well fall into a few traps. Here are the most common ones.
- Covering what you wrote. A sticker that hides a task or date defeats the purpose. Place stickers around your plans, not on top of them.
- Using too many on one page. When every box has a sticker, none of them stands out. Leave some space.
- Changing the meaning of a sticker. If a green flag means a deadline on Monday and a payment on Friday, you will stop trusting your own page.
- Aiming for a perfect page. A planner is a tool first. A page that works is better than a page that looks flawless but never gets finished.
- Buying more than you will use. A few sheets that match how you plan are worth more than a large stack that stays in a drawer.
Ready to Find Your Stickers? Here’s Where to Begin
Once you know how to use planner stickers, choosing them is the easy part. Our roundup sorts planner sticker sets by what they are best for, so you can pick the ones that fit your own system.
FAQ
What are planner stickers used for?
They mark events, deadlines, habits, and tasks, add color to a page, and make a planner more enjoyable to use. Some people use them mainly to organize, others mainly to decorate, and many do both.
How many stickers should I use on a page?
Fewer than you think. One or two per day on a monthly spread, and a handful on a weekly page, is usually enough. If you can no longer find your own writing, you have probably used too many.
Should I write first or add stickers first?
Write first, then add stickers around what you wrote. If you place stickers first, you may have to squeeze your writing into leftover gaps.
Can I use printable stickers on regular paper?
You can print them on regular paper and attach them with glue or washi tape, but sticker paper is easier and neater. Sticker paper also lets you peel and place each one.
Can I use planner stickers in a digital planner?
Yes. Digital sticker sets can be imported into note apps such as GoodNotes and placed on any page, then moved or resized as often as you like.
How do I store planner stickers?
Keep them flat in a folder, a pocket in your planner, or a sticker book, away from heat and sunlight so the adhesive stays usable. Keeping them near your planner makes them easier to use.
Final Thoughts
Learning how to use planner stickers comes down to a few habits: give each sticker a job, keep a small system, place stickers around your plans, and stop short of a crowded page. Start simple, adjust as you go, and let your stickers help your planner, not take it over.
You May Also Like
This post contains affiliate links. If you buy through them, we may earn a small commission at no extra cost to you. Learn more.