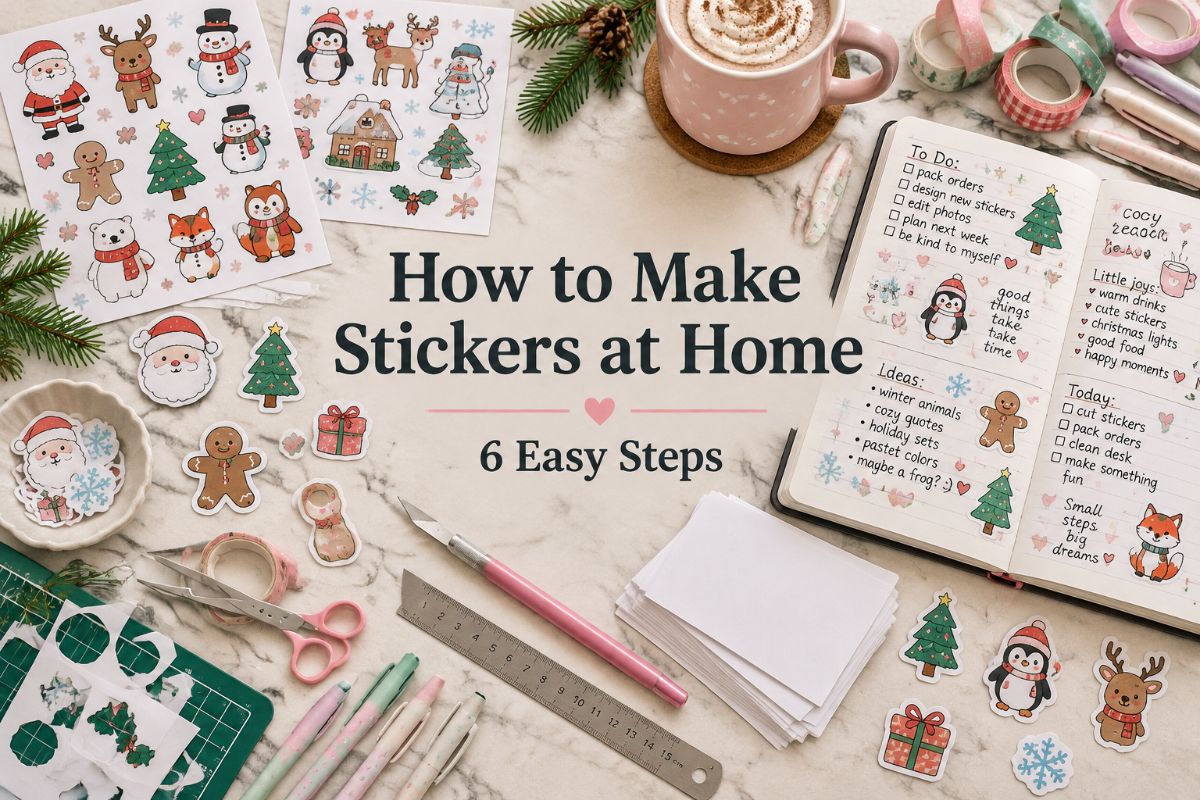
How to Make Stickers at Home in 6 Easy Steps With Just a Printer and Scissors
Learning how to make stickers at home is easier than it looks. With a regular printer, a pack of sticker paper, and a pair of scissors, you can turn any design into stickers for your planner, cards, and gifts in an afternoon, and print more whenever you run out.
This guide shows how to make your own stickers in six simple steps, from choosing the designs to cutting and sealing them. You will also find a quick guide to sticker paper, holiday ideas for Christmas, fixes for common printing problems, and two Christmas sticker sets that make a good first project.
Quick navigation
Table of Contents
What You Need to Make Stickers
You do not need special equipment to get started. Here is the basic kit:
- Designs. Your own drawings, a design made in Canva, or ready-made printable stickers.
- A printer. Any home inkjet or laser printer works. Inkjet printers usually give brighter colors on sticker paper.
- Sticker paper. Full-sheet printable sticker paper made for your printer type. More on choosing it below.
- A cutting tool. Small sharp scissors, a craft knife with a ruler, or a cutting machine such as a Cricut or Silhouette.
- Optional extras. Clear laminating sheets for durability, and a cutting mat if you use a craft knife.
Which Sticker Paper Should You Use?
The paper decides how your stickers look and how long they last. This table compares the most common types:
| Paper | Best For | Pros | Watch Out For |
|---|---|---|---|
| Matte paper | Planners and journals | Easy to write on, no glare | Not water resistant |
| Glossy paper | Bright, colorful designs | Vivid colors, shiny finish | Shows fingerprints, hard to write on |
| Clear paper | Labels on jars and glass | Background shows through | White parts of a design disappear |
| Vinyl paper | Bottles, laptops, gifts | Flexible and more durable | Costs more per sheet |
| Waterproof vinyl | Anything that gets wet | Resists water and handling | Needs the right ink type, so check the pack |
For a first try, matte sticker paper is the safest choice: it forgives small printing mistakes and works with every pen in your pencil case.
How to Make Stickers at Home in 6 Steps
Here is the whole process from a blank page to a finished sheet. The same steps work for planner stickers, gift labels, and Christmas stickers alike.
Step 1: Pick or Draw Your Designs
Every sticker starts as an image. You can draw your own on paper and scan it, design one in a free program such as Canva, or start with ready-made printable stickers, which are PNG files with a transparent background that are already sized and outlined for cutting.
If this is your first time, ready-made files are the easiest way to learn how to make stickers, because the hardest part, the layout and the border, is already done. Once you are comfortable, you can mix in your own drawings.
Step 2: Lay Out a Sticker Sheet
Open a blank page in Canva, Word, or Google Docs at the size of your sticker paper, usually US letter or A4. Place your designs on the page and leave a small gap, about a quarter of an inch, between them so you have room to cut.
Add a thin white border around each design if it does not already have one. The border hides small cutting mistakes and makes the sticker look finished. Many sticker sets include a ready-made sheet, so you can skip this step entirely.
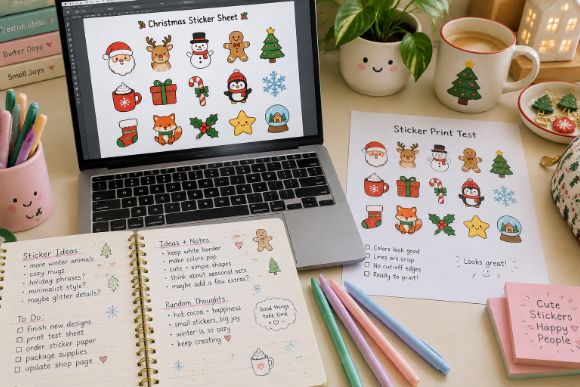
Step 3: Print a Test Page on Plain Paper
Before you use sticker paper, print the sheet on ordinary paper. Check that the stickers are the size you want, that the colors look right, and that nothing is cut off at the edges.
This one page saves the most money in the whole process, because sticker paper costs far more than plain paper. Hold the test sheet up to your planner or gift box to see how the stickers will really look.
Step 4: Print on Sticker Paper
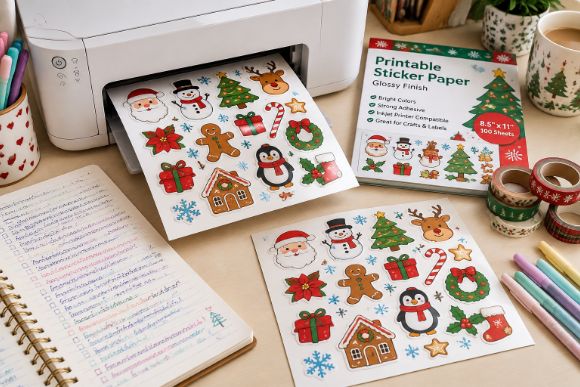
Load one sheet of sticker paper with the printing side facing the right way for your printer. Most home printers print on the side facing down in the tray, but check the small picture on the tray if you are not sure.
In the print settings, choose the highest quality and set the paper type to glossy or photo paper, even for matte sticker paper. This tells the printer to use more ink and print more slowly, which gives sharper edges. Let the sheet dry for a few minutes before you touch it.
Step 5: Cut Out Your Stickers
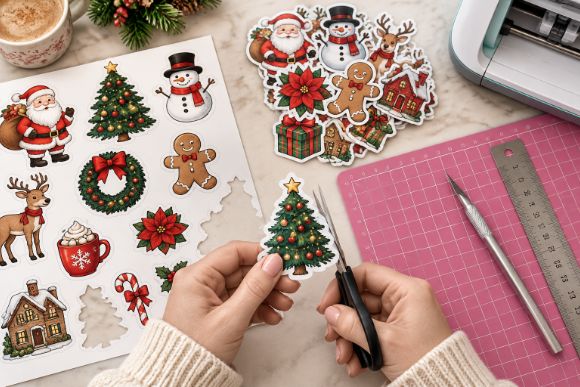
If you are cutting by hand, use small, sharp scissors and follow the white border. For straight lines, a craft knife and a metal ruler give cleaner edges. Cut the sheet into smaller pieces first, so you are not turning a whole page around each tiny curve.
If you have a Cricut or a Silhouette, use the print then cut feature. You upload the sheet, print it with registration marks, and the machine reads the marks and cuts around each sticker. Kiss cut settings cut only the sticker layer, so the stickers stay on the backing like a store-bought sheet.
Step 6: Seal and Store Them
Printable sticker paper is fine for planners and journals, but ink can smudge on items that get handled a lot. For gift boxes, water bottles, or laptops, cover the printed sheet with a clear laminating sheet before cutting.
Store finished stickers flat in a folder or a zip bag, away from sunlight, so the colors stay bright and the edges do not curl.
Christmas Sticker Ideas to Try This Year
Once you know the basics, Christmas is the perfect season to put them to work. A single sheet of homemade Christmas stickers can cover all of these:
- Gift labels. Print round stickers or name tags and write each name directly on them, instead of buying separate gift cards.
- Card and envelope seals. A small sticker on the back of an envelope makes a store-bought card feel handmade.
- An advent countdown. Number 24 small stickers and add one to your calendar or planner each day in December.
- A December planner spread. Use larger designs on the monthly page and tiny icons in the daily boxes for parties and events.
- Treat bags and jars. Clear sticker paper turns a jar of cookies or a bag of sweets into a simple, finished gift.
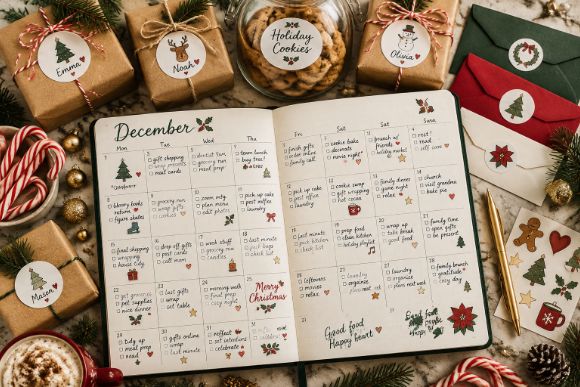
If you would rather start with finished designs, our roundup of Christmas stickers has 40 printable sets in different styles, from cozy knitted characters to gift tags.
Common Problems and Quick Fixes
Most first-time problems have simple causes. Here are the ones that come up most often:
- The stickers look blurry. The image is too small for the size you printed it. Use files of at least 300 DPI and do not stretch them larger than the original.
- The ink smudges. The paper type in your printer settings does not match the sheet. Choose glossy or photo paper in the settings and let the sheet dry before cutting.
- The machine cuts in the wrong place. The print then cut calibration is off. Run the calibration in your cutting software, and keep a bright room light off the registration marks while the machine scans them.
- The stickers peel at the edges. The surface is dusty or curved. Wipe the surface first, press the sticker firmly from the center outward, and round the corners when you cut.
- The colors look dull. Matte paper absorbs more ink. Try glossy paper, or brighten the design a little before printing.
Two Christmas Sticker Sets to Start With
You can follow every step in this guide with your own drawings, but ready-made files let you focus on printing and cutting. Here is one set for each cutting method, scissors or a machine:
EASIEST FIRST PROJECT
40 Cute Christmas Stickers PNG Bundle
If you want to try making stickers without designing anything, this bundle gives you a large set of cute Christmas designs to print. Each one is a separate file, so you can build your own sticker sheet exactly the way the guide describes.
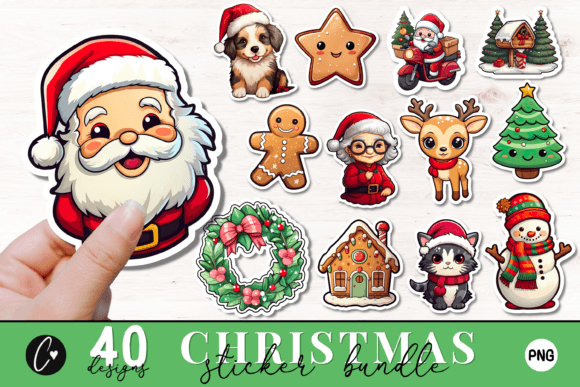
Format: PNG | Stickers: 40 | Size: 4 in | Resolution: 300 DPI
Best for: beginners who want to practice laying out their own sheet. It fits Step 2 of this guide perfectly.
- Cute, colorful holiday designs
- Transparent backgrounds
- Works for print and for digital planners
- Files come without watermarks
- Easy to scale down for planner boxes
Because each design is a separate file, you decide how big each sticker is and how many fit on a page. The resolution keeps edges sharp even after you scale them down for a small planner. Choose it if you want lots of variety for your first sheets. Skip it if you would rather print a finished sheet without arranging anything.
READY TO CUT
Cartoon Snowman Christmas Sticker Pack
This pack is prepared for both cutting machines and scissors, which makes it a good way to practice the cutting step. The snowmen come with contours already in place, so you can print and cut without setting anything up.
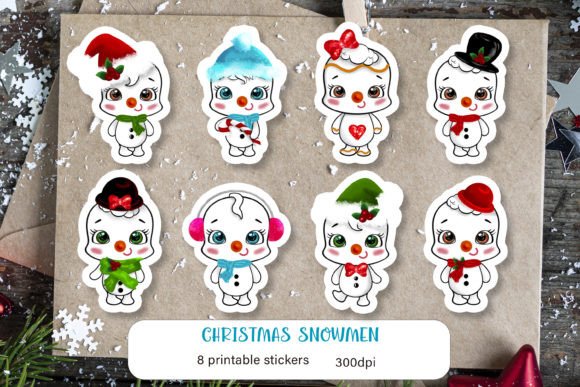
Format: PNG, JPG | Stickers: 8 | Sheets: A4, A5, US letter
Best for: anyone trying print then cut for the first time, or cutting by hand. It makes Step 5 much easier.
- Cartoon snowman designs
- Contours prepared for cutting machines
- Black outlines for cutting by hand
- Full sheets with all stickers on one page
- Borders already added to every design
Having one version for a machine and one for scissors means you can try both methods with the same designs. The three paper sizes cover planners large and small. Choose it if you want a sheet that is ready to print and cut tonight. Skip it if you want a large variety of characters.
For more styles, from funny and groovy sets to gift tags, see our full list of Christmas stickers.
FAQ
Can you make stickers without sticker paper?
Yes, as a quick fix. Print the design on plain paper, cover the front with clear packing tape, and stick double-sided tape on the back before cutting. These stickers are fine for a journal or a gift, but they are thicker and less tidy than stickers printed on real sticker paper.
Can I print stickers with a regular inkjet printer?
Yes. Any standard inkjet printer can print on sticker paper, as long as the paper is labeled for inkjet use. Laser printers need laser sticker paper, because the heat can damage the wrong type.
How do you make homemade stickers waterproof?
Print on waterproof vinyl sticker paper, or cover printed paper stickers with a clear laminating sheet before you cut them. Either way, let the ink dry fully first so it does not smear under the cover.
Is it cheaper to make your own stickers?
For small batches, usually yes. One sheet of sticker paper can hold a dozen or more stickers, and you only print what you need. Ordering professionally printed stickers becomes cheaper when you need hundreds of copies of the same design.
Why do my printed stickers have a white edge?
The white edge is the border around the design, and most sticker files include it on purpose. It makes cutting easier and gives the sticker a clean, finished outline. If you prefer no edge, cut right along the design or look for a set that offers versions without borders.
Final Thoughts
Making stickers at home comes down to a few simple habits: print a test page first, use the right paper, and take your time with the cutting. Start with one sheet of ready-made designs, see how your printer handles it, and then mix in your own drawings. By Christmas you will have a stack of stickers for your planner, your cards, and every gift under the tree.
This post contains affiliate links. If you buy through them, we may earn a small commission at no extra cost to you. Learn more.