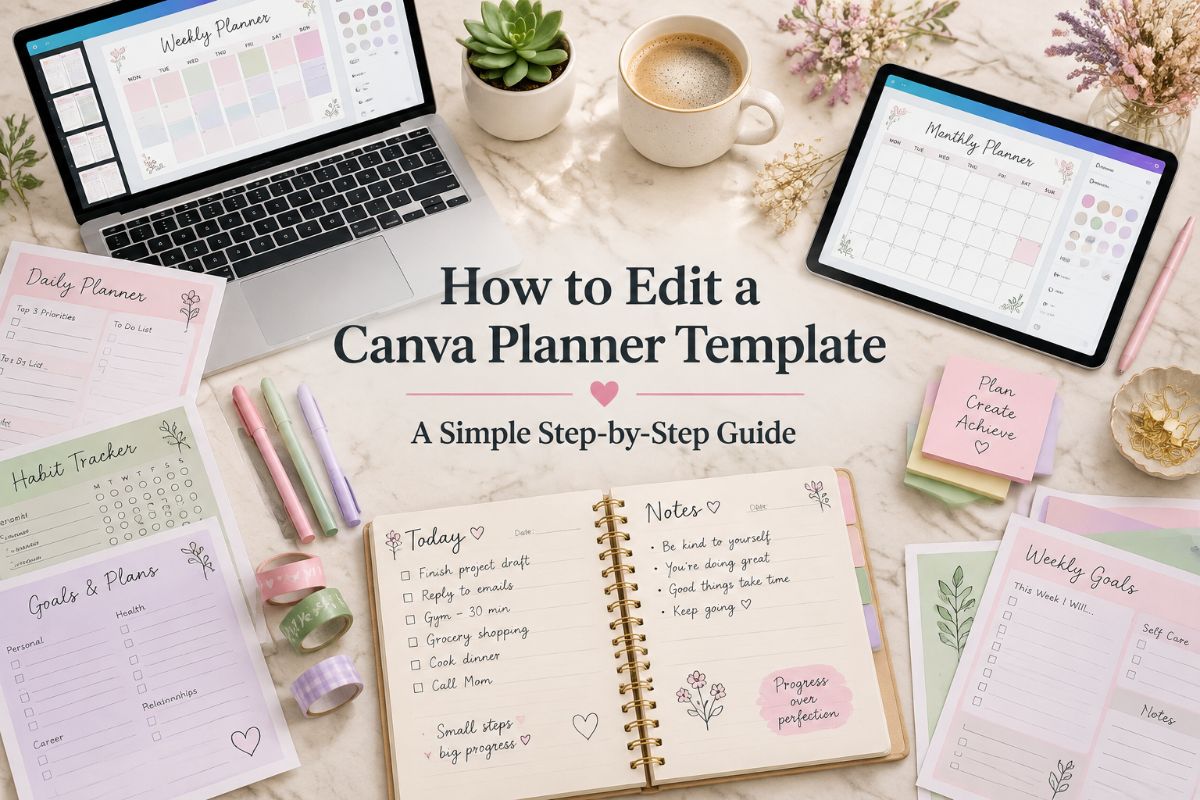
How to Edit a Canva Planner Template and Make It Your Own
Learning how to edit a Canva planner template takes about ten minutes, and it turns a ready-made design into a planner that looks and works the way you want. You open the template, make your own copy, change the text, fonts, and colors, and then print the pages or use them on a tablet.
This guide walks you through the whole process in seven steps, from finding the link in your files to saving the PDF. You will also find easy ways to personalize your planner, tips for printing, fixes for the most common problems, and two planners that make a good starting point.
Quick navigation
Table of Contents
What You Need Before You Start
Editing a planner in Canva is easier than it looks, and you only set it up once. Before you begin, have these ready:
- A Canva account. A free account is enough for most planner templates. Some templates use premium elements, and the listing says when a paid plan is needed.
- Your planner files. Most Canva planners arrive as a PDF with a link or button inside, sometimes packed in a .zip folder.
- A computer, if you can. Canva also has a phone app, but a bigger screen makes it much easier to see all the pages of a planner.
- The paper size you plan to use. US Letter, A4, and A5 are the most common. Check the size in the listing before you start editing, because changing it later can shift the layout.
How to Edit a Canva Planner Template in 7 Steps
The steps below work for almost any Canva planner. Menu names can change a little when Canva updates, so look for the same words if a button has moved.
Step 1: Find the Canva Link in Your Planner Files
Start by moving the planner file somewhere you can find it. If it arrived in a .zip folder, unzip it first and look inside for the PDF. Many sellers include a second PDF with editing tips, so keep the folder together until you have checked what is inside.
Open the planner PDF on your computer and click the link or button that opens the template in Canva. Log in to your Canva account, or create a free one if you do not have it yet.
Step 2: Make Your Own Copy of the Template
This is the step that matters most. The link opens the original template, and you want your own copy of it. Click Use template for new design, and Canva opens a copy in your account. Your changes are saved in that copy, and the original stays untouched.
If you only see a preview and cannot click on the text, you are probably looking at the original. Go back to the link and use the copy button again. If something goes wrong later, you can always return to the link and start over with a fresh copy.
Step 3: Name the Design and Look Through the Pages
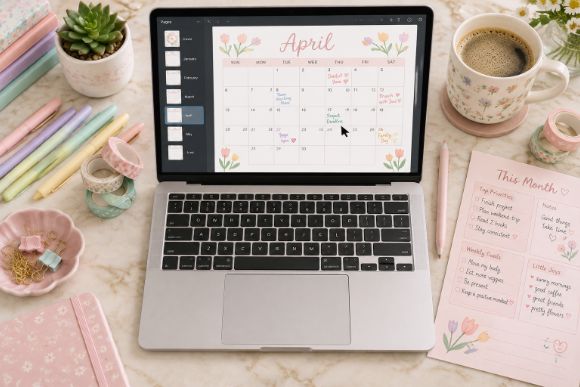
Give your copy a name you will recognize, such as My 2027 Planner, by clicking the design title at the top. Then open the page view so you can see every page in the planner at once, and scroll through it once from start to finish.
A quick look tells you which pages you will use, which you will delete, and where the planner starts and ends. Planners can have anywhere from 20 to 150 pages or more, so a first look saves a lot of time later.
Step 4: Edit the Text, Fonts, and Colors
Click any text box to change the words, and use the font menu at the top to switch fonts. To change a color, click an element or a shape and pick a new color from the color tile. Hold Shift while you click to select several elements and change them together.
Two fonts and three or four colors are plenty for a planner. Using the same ones on every page makes the whole book look like it belongs together. If you change a font, make sure the new text still fits inside its box.
Step 5: Add, Remove, and Duplicate Pages
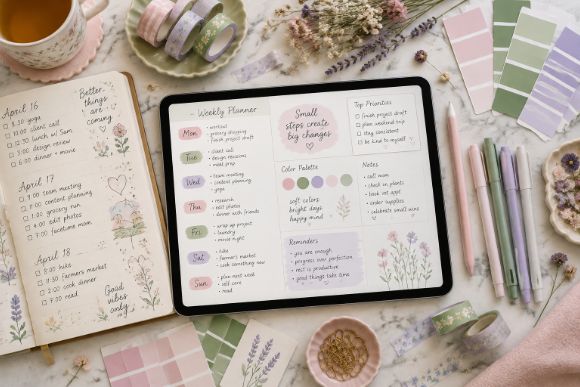
Hover over a page and use the small icons to duplicate it, delete it, or add a new blank page. In the page view, you can drag pages into a new order.
This matters most with undated planners, which often give you one weekly or daily page to copy. Duplicate the layout as many times as your year needs, then change the dates. Add only a few weeks at a time, because a smaller file is easier to edit and move through.
Step 6: Check for Premium Elements
Premium elements show a small crown icon. With a free account, you can still edit the text and colors, but a premium photo or graphic may be locked or marked with a watermark. You have two options: swap it for a free element from the Elements tab, or use a paid plan. The product listing often says whether the template needs Canva Pro.
Step 7: Save the Planner as a PDF
When you are happy with your planner, open the Share menu and choose the PDF file type. Pick PDF Print if you plan to print it, or PDF Standard if you will only use it on a screen. Select all pages, then save the file to your computer.
Keep the Canva design too. It stays in your account, so you can come back later to fix a typo, add pages, or change the colors, and then save a new PDF.
Easy Changes That Make a Planner Yours
Once the basics work, a few small changes make the planner feel like yours:
- Change the dates. Undated planners let you start in any month. Type the month name and the date numbers on each calendar page, and adjust the weekday row if you want the week to start on Monday or Sunday.
- Pick your colors. Choose one main color and one accent color, and use them on the headings and boxes across every page.
- Add your own cover. Replace the cover text with your name or a title, or upload a photo in the Uploads tab and drag it onto the cover.
- Add stickers and icons. Open the Elements tab, search for a word such as flower or checkmark, and click an element to place it on a page.
- Delete what you will not use. A shorter planner is easier to print and easier to keep up with.
How to Print Your Canva Planner
A planner is made for printing, and a few settings make the pages come out neatly. After you save the PDF with PDF Print, follow these tips:
- Match the paper size. Print US Letter planners on US Letter paper and A4 planners on A4 paper. If your printer asks how to scale the page, choose Actual size rather than Fit to page.
- Print one test page first. Check that the text is sharp and that nothing is cut off at the edges before you print the whole planner.
- Use heavier paper. Thicker paper holds up better to pens and highlighters, and the ink shows through less.
- Print double-sided if your printer allows. For a planner in portrait layout, flip the pages on the long edge so they open like a book.
- Choose a binding. A binder, a disc-bound system, or spiral binding from a print shop lets you add and remove pages.
Using Your Edited Planner on a Tablet
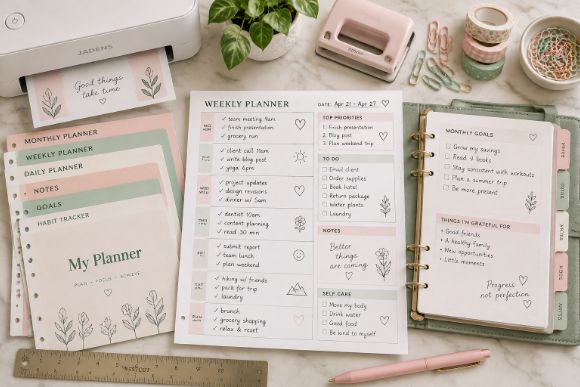
You do not have to print a Canva planner. Save it as a PDF with PDF Standard, import the file into a note-taking app, and write on it with a stylus. Our guide on how to use a digital planner in GoodNotes walks through the import step by step.
Keep in mind that clickable tabs only work if the template includes links. If you want a hyperlinked planner, check the listing before you buy.
Common Problems and Quick Fixes
- You cannot edit the text. You are probably viewing the original. Go back to the link and click Use template for new design to open your own copy.
- A font looks different. The template may use a font that is only available in a paid plan. Pick a similar free font from the font menu and check that the text still fits.
- An element will not move. It may be locked. Click the element and look for a small lock icon, then unlock it.
- A page shows a watermark. It uses a premium element. Swap it for a free element, or use a paid plan.
- The text is cut off in print. Keep text away from the page edges, and print a test page before you print the full planner.
- You deleted something by mistake. Use the undo button right away, or open the version history from the File menu.
Which Canva Planner Should You Start With?
You can follow every step above with any template, but a planner with clear sections makes the first edit easier. Here are two layouts that match this guide:
ALL-IN-ONE YEARLY PLANNER
365 Days 2027 Planner
This planner covers the year from the big picture down to a page for each day. That variety gives you plenty to try, from editing a calendar to restyling a daily page. It is written for everyday life, so it suits work, study, appointments, and home in the same file.
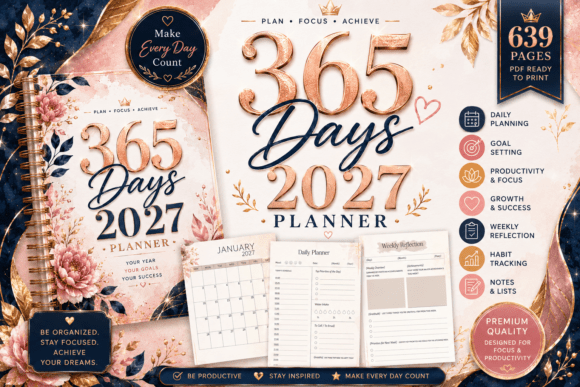
Size: 49 page designs, 8.5 × 11 in | Files: Canva template, PNG
Best for: anyone who wants a complete planner to practice on, with yearly, monthly, weekly, and daily pages in one file. It fits Step 4 of this guide, because the plain layouts are easy to recolor.
- 2027 calendar with a holiday list
- Year at a glance and yearly planner
- Monthly planner with a monthly review
- Weekly and daily planners with a weekly reflection
- Contact list, birthday reminder, and password tracker
The pages are practical and simple to restyle, so they work well for learning how fonts and colors change a whole book. Choose it if you want a general planner for work, study, and home.
20 MASTER PAGES TO DUPLICATE
2027 Inner Calm Planner
This planner starts small, with 20 master pages that you copy to make a full-year planner. It pairs a monthly calendar with a mood and habit tracker, so you plan your days and check in with yourself. The design is a soft lavender and blush palette that stays calm on the page.
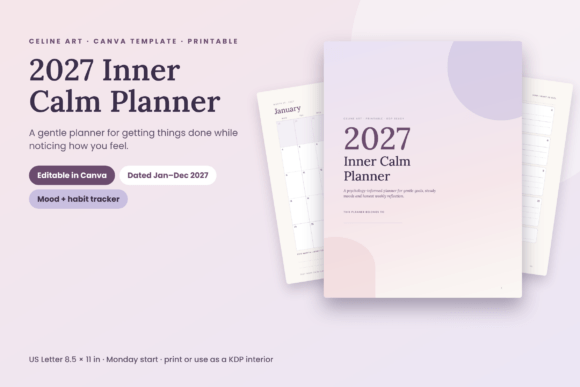
Size: 20 master pages, US Letter | Files: Canva template link
Best for: anyone who wants a short planner and likes the idea of building the full year by duplicating pages. It fits Step 5 of this guide, because the tracker and weekly page are made to be copied.
- Year at a glance and intentions for 2027
- 12 dated monthly calendars
- Mood and habit tracker
- Undated weekly planner for all 52 weeks
- 2027 in review and a notes page
The listing says a free Canva account works, and the fonts are free in Canva. Choose it if you want to practice duplicating pages and keep the design calm and simple.
Want more options, from budget and business planners to school and wellness layouts? See our full list of Canva planner templates, grouped by purpose.
FAQ
Do I need Canva Pro to edit a planner template?
Usually not. Most planner templates can be edited in a free Canva account, including the text, fonts, and colors. Some templates use premium elements, and the listing says if a paid plan is needed for the full design.
Can I edit a Canva planner template on my phone?
You can open the template in the Canva app and make small changes. For a planner with many pages, a computer is easier, because you can see more of each page and move through the pages faster.
How do I make a copy of a Canva template?
Open the template link and click Use template for new design. Canva creates your own copy in your account, and your changes are saved there. The original template stays unchanged.
Why can’t I edit my Canva template?
You are most likely looking at the original template or a view-only link. Go back to the link and make your own copy. If an element still will not move, it may be locked, so click it and unlock it.
How do I print a Canva planner?
Open the Share menu, choose the PDF file type, and pick PDF Print. Then print the PDF on paper that matches the planner size, such as US Letter or A4. Print one test page first to check the margins.
How do I change the dates in a Canva planner?
Click the date text on each calendar page and type the new dates. An undated planner is made for this, so you can start in any month. If you change the week start, change the weekday row as well.
Can I use a Canva planner in GoodNotes?
Yes. Save your edited planner as a PDF and import it into GoodNotes or another note-taking app. Clickable tabs only work if the template includes links, so check the listing.
Can I change the size of a Canva planner template?
It is better to choose the right size from the start. Changing the size of a design can shift the layout and move the text, and Canva’s resize tool is part of its paid plans. Most planners come in US Letter, A4, or A5.
Final Thoughts
Once you have made your first copy, editing a Canva planner template is mostly small, simple changes: your own copy, your fonts and colors, the pages you need, and a PDF to print or use on a tablet. Start with a short template, change one thing at a time, and save the Canva design so you can come back to it. The planner you edit yourself is the one you are most likely to keep using.
This post contains affiliate links. If you buy through them, we may earn a small commission at no extra cost to you. Learn more.