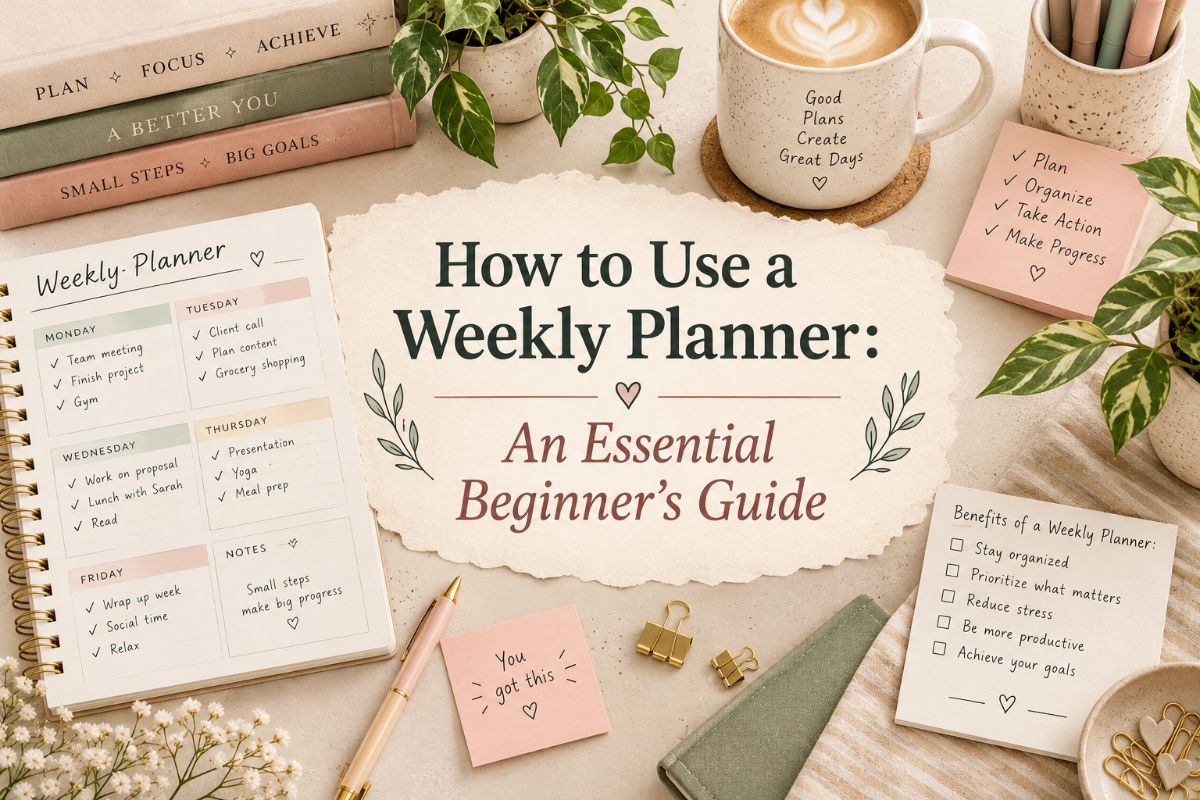
How to Use a Weekly Planner in 6 Simple Steps: Plan Your Week in 15–30 Minutes
A weekly planner only works if you use it as a plan, not a diary. Plenty of people buy a lovely one, fill in the first week, and then watch the pages stay empty. The problem is rarely the planner. It’s that nobody explained what to actually do with it.
Here’s how to use a weekly planner in six simple steps, from picking a planning time to closing out the week. It takes about 15 to 30 minutes a week, and the same method works on paper, in Canva, or on a tablet.
Quick navigation
Table of Contents
How to Use a Weekly Planner: The Quick Version
If you only have a minute, here is the whole method. Each step is explained in detail below.
- Pick a fixed time each week to sit down with your planner.
- Look back at last week and note what got done and what didn’t.
- Write in what’s already fixed: appointments, deadlines, work or school hours.
- Choose a handful of priorities for the week, not a full wish list.
- Spread tasks across the week and leave gaps for the unexpected.
- Check in midweek and review at the end, then carry over only what still matters.
Step 1: Pick a Fixed Planning Time
Choose one regular slot for planning, such as Sunday evening, Monday morning, or Friday afternoon, and put it in your calendar like any other appointment. The exact day matters less than the consistency. Knowing how to use a weekly planner starts with turning this slot into a habit.
Keep it short: 15 to 30 minutes is plenty. Make a hot drink, open the planner, and treat it as a small reset rather than a chore. A planner that only gets opened when you remember is a planner that gets abandoned.
Step 2: Look Back at Last Week
Before you plan ahead, spend a few minutes on the week that just ended. Skim what you wrote down and see what was finished, what slipped, and what came up that you hadn’t planned for.
Carry forward only the tasks that still matter. Everything else can be dropped without guilt. Then jot down one thing that worked and one thing you’d change, so each week gets a little easier than the last.
Step 3: Add What’s Already Fixed
Start with the parts of the week you can’t move: appointments, deadlines, meetings, classes, and your usual work or school hours. Copy them in from your calendar so everything lives on one page.
Then add personal fixed points, like a workout, a family dinner, or a weekly call. Once these are in, you can see at a glance how much open time you really have, which is what keeps the rest of the plan realistic.
Step 4: Choose Your Weekly Priorities
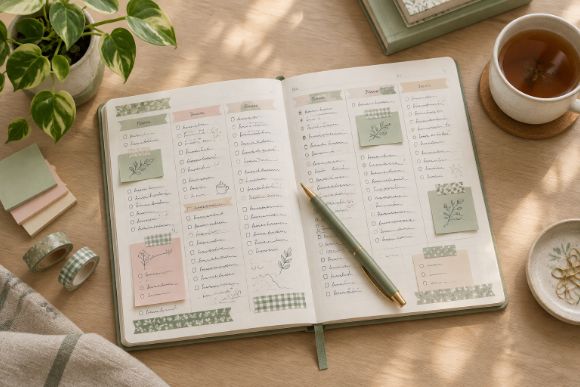
Now decide what matters most. Pick two or three priorities for the week and ask a simple question: which of these moves a monthly or yearly goal forward? Good time management is mostly about deciding what not to do.
If your head is full, do a quick brain dump first: write everything down on scrap paper, then circle the few items that truly deserve space in this week. The rest can wait on a separate list.
Step 5: Spread the Week Out and Leave Gaps
Place your biggest priorities on the days with the most open time, and keep lighter tasks for busier days. Avoid stacking everything on Monday. If your planner has time slots, try time blocking for the tasks that need focus.
Leave a small buffer on every day, even 30 minutes. Plans almost never run exactly on schedule, and a gap means one delay doesn’t ruin the whole week.
Step 6: Check In and Close the Week
Give your planner a quick glance each morning, and a slightly longer midweek check-in. If something has changed, move it. Adjusting the plan isn’t failing at it; that’s the point of a weekly view.
At the end of the week, tick off what’s done, note what’s left, and decide what carries over. This short review feeds straight into next week’s Step 1, and the loop starts again.
Common Mistakes to Avoid
- Overfilling the week. A page packed from edge to edge leaves no room for real life. Aim for a plan you could realistically finish at 80 percent.
- Planning once and never looking again. A weekly plan only works if you check it. A daily glance keeps it alive.
- Skipping the review. Without a look back, you repeat the same overload week after week.
- Copying someone else’s layout. The best setup is the one that fits your own routine, not the prettiest one online.
- Treating a missed week as failure. Just start fresh on the next planning day. A gap doesn’t undo the habit.
Ready to Start? Here’s Where to Begin
Once you know how to use a weekly planner, choosing one is the easy part. Our roundup covers dated 2027 planners, minimal Canva pages, time-blocked layouts, and pastel and boho designs.
FAQ
How long should weekly planning take?
Most people need 15 to 30 minutes. If it’s taking much longer, you’re probably overplanning. A quick, realistic outline beats a perfectly detailed schedule you never follow.
What is the best day to plan your week?
There’s no single right answer. Sunday evening is popular because it gives a calm start to Monday, while others prefer Monday morning or Friday afternoon. Pick the one you’ll actually stick to.
Should I use a weekly planner and a daily planner together?
They work well as a pair. Use the weekly page for the big picture and priorities, and a daily page for the detail. See our guide on how to use a daily planner for the daily side.
What if I fall behind in the middle of the week?
Don’t scrap the plan. Look at what’s left, pick the one or two things that matter most, and move the rest to next week. A short reset is better than starting over.
Final Thoughts
Learning how to use a weekly planner comes down to a simple loop: pick a regular time, look back, add what’s fixed, choose a few priorities, spread them out with gaps, and review. Keep it light, keep it flexible, and let the planner serve your week instead of the other way around.
You May Also Like
This post contains affiliate links. If you buy through them, we may earn a small commission at no extra cost to you. Learn more.