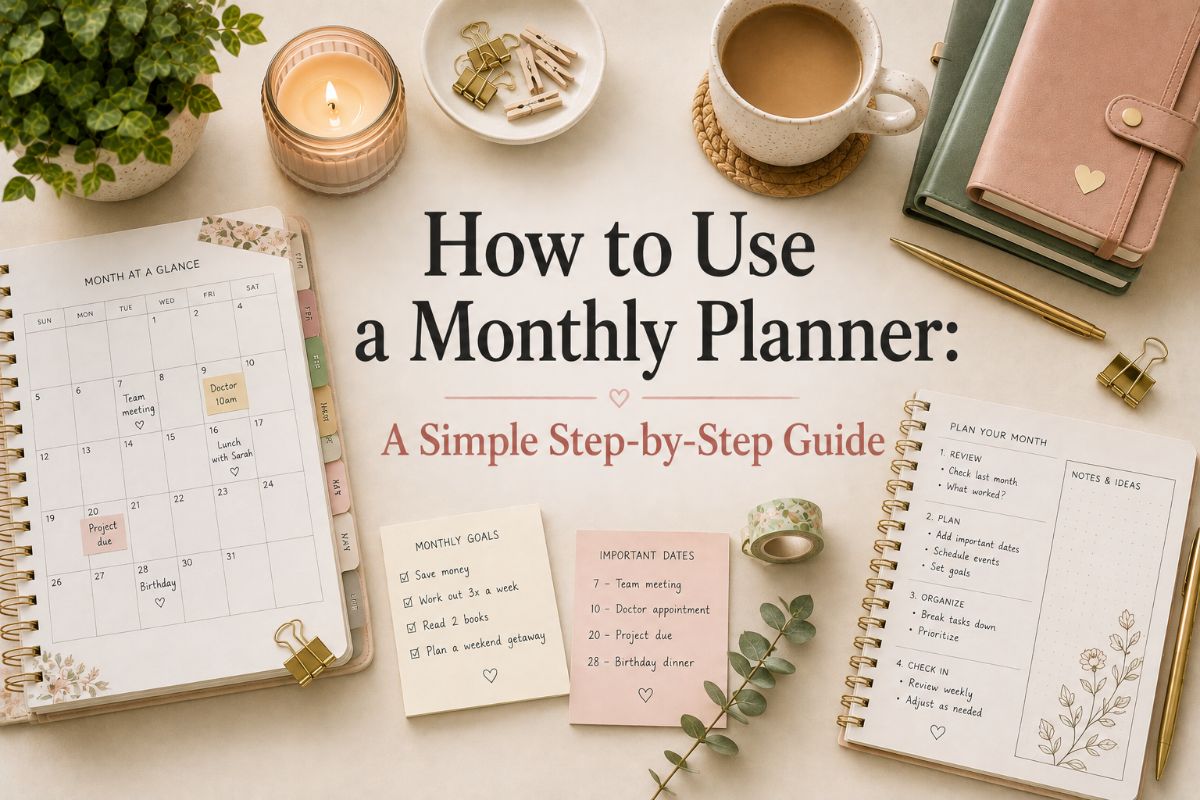
How to Use a Monthly Planner: 6 Simple Steps to See the Whole Month First and Plan the Details Second
How to use a monthly planner comes down to one idea: see the whole month first, then plan the details. Plenty of people buy a lovely planner, fill in a few dates, and then watch the pages stay empty. The planner is rarely the problem. Nobody explained what to actually do with it.
Here are six simple steps, from choosing a purpose to reviewing the month. It takes about 20 to 30 minutes at the start of each month, and the same method works on paper, in Canva, or on a tablet.
Quick navigation
Table of Contents
How to Use a Monthly Planner: The Quick Version
If you only have a minute, here is the whole method. Each step is explained in detail below.
- Decide what the planner is for: appointments, goals, habits, or all three.
- Fill in the fixed dates first: appointments, deadlines, birthdays, and trips.
- Pick three or so goals for the month instead of a long wish list.
- Break each goal into weekly steps and place them on the calendar.
- Use the extra pages for notes, habits, and a budget if your layout has them.
- Review at the end of the month and carry over only what still matters.
Step 1: Decide What Your Planner Is For
Before you write anything, decide what job this planner has. For some people it is a schedule keeper for appointments and deadlines. For others it is a goal tracker, a habit log, or a family calendar. Many people want a mix, and that is fine as long as you know which part matters most.
A clear purpose makes every later choice easier, from the layout you pick to the pages you actually use. If you are still choosing a layout, our roundup of monthly planner templates shows the main styles side by side.
Step 2: Fill In the Fixed Dates First
Start with everything that already has a date: appointments, deadlines, birthdays, school events, bill due dates, trips, and holidays. Copy them in from your phone calendar or email so the whole month lives on one page.
Once these are in, you can see the busy stretches and the open days at a glance. That view is the real value of a monthly planner, because it shows the shape of the month before it starts.
Step 3: Choose Your Goals for the Month
Pick three to five goals at most. Vague goals like “get organized” are hard to act on, so make them specific, such as “finish the first draft” or “save a set amount”. The SMART criteria (specific, measurable, achievable, relevant, time-bound) are a handy way to sharpen a goal.
If your head is full, do a quick brain dump on scrap paper first. Write down everything you want to do this month, then circle the few items that really deserve space. The rest can wait on a separate list.
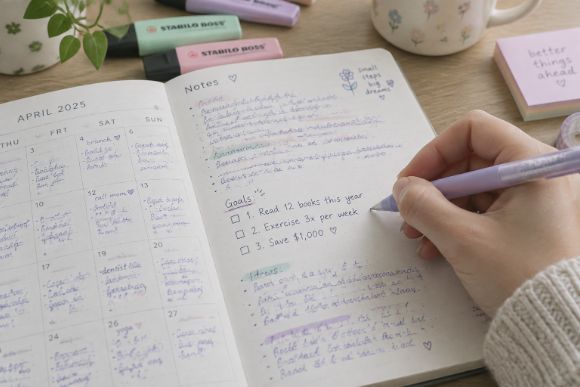
Step 4: Break Goals Into Weekly Steps
A monthly goal is too big to act on directly, so split each one into small steps and give every step a week. If the goal is to declutter the house, week one might be the kitchen and week two the wardrobe.
Write the steps on the calendar next to your fixed dates. Place the heavier steps in lighter weeks and keep a gap or two for the unexpected. If you plan your days in detail, our guide on how to use a weekly planner shows how to turn each week into a clear plan.
Step 5: Use the Extra Pages
Most monthly planners come with more than a calendar grid. A notes page is good for meeting points and ideas. A habit tracker shows streaks at a glance. A budget or expense page keeps money plans next to your dates, and a priorities box keeps your goals in view.
You do not need to use every page. Choose the two or three that match the purpose you picked in Step 1, and leave the rest blank. A planner that asks for less is easier to keep up.
Step 6: Review and Reset at Month’s End
In the last days of the month, look back through the pages. Tick off what is done, note what slipped, and write down one thing that worked and one thing to change.
Then move only the tasks that still matter to next month. This short review is what keeps the planner honest, and it feeds straight into Step 1 of the next month.
Common Mistakes to Avoid
- Cramming every box. A month with no breathing room falls apart on the first surprise. Leave some days lighter on purpose.
- Writing goals but no steps. A goal on the page does nothing until it has a week and a first action attached.
- Only looking at the planner on the first day. Open it at least once a week, even for two minutes.
- Skipping the monthly review. Without a look back, the same unfinished tasks roll over again and again.
- Giving up after a messy month. A few empty pages do not undo the habit. Start fresh on the next page.
Ready to Pick Your Layout? Here’s Where to Begin
Once you know how to use a monthly planner, choosing one is the easy part. Our roundup covers dated 2027 pages, multi-year sets, undated layouts, and digital, floral, and self-care designs.
FAQ
What should I put in a monthly planner?
Start with dated items such as appointments, deadlines, birthdays, and trips. Then add your goals for the month, a few weekly steps, and anything you want to track, like habits or spending.
How do I plan my month?
Fill in the fixed dates, choose three or so goals, and break each goal into weekly steps. Spend 20 to 30 minutes on this in the last few days of the previous month, so you start with a clear plan.
Is a monthly planner better than a weekly planner?
Neither is better. A monthly planner shows the big picture and long-range dates, while a weekly planner has room for daily detail. Many people use a monthly page for the overview and a weekly page for the details.
How often should I look at my monthly planner?
At least once a week. A quick check at the start of each week lets you move tasks and spot busy days early. A longer review at the end of the month keeps the plan useful.
What if I miss a few days or weeks?
Do not go back and fill in the gap. Skip ahead to today, move anything that still matters, and carry on. A planner is a tool for the days ahead, not a record you owe a perfect score.
Final Thoughts
Learning how to use a monthly planner comes down to a simple loop: pick a purpose, fill in the fixed dates, choose a few goals, break them into weekly steps, use only the pages you need, and review at the end of the month. Keep it light and flexible, and let the planner serve your month instead of the other way around.
You May Also Like
This post contains affiliate links. If you buy through them, we may earn a small commission at no extra cost to you. Learn more.